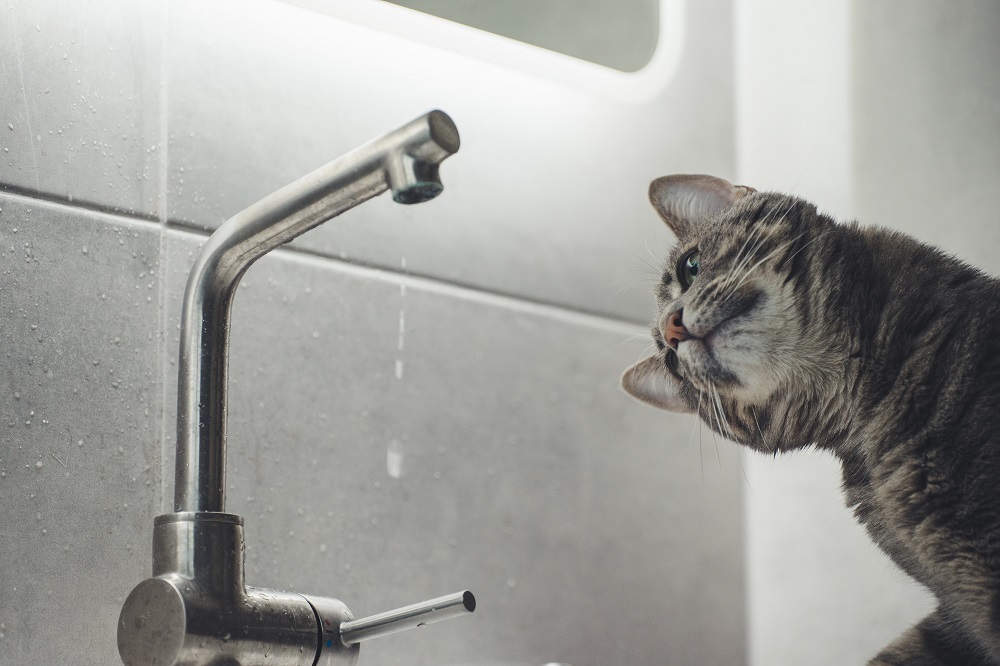
If the noise of a leaking faucet keeps you awake at night and you worry about how much water you will waste and how it will affect the environment, you can relax. Fixing a leaky faucet is quick and fairly cheap; even the most amateur DIYer can handle this task.
Shut Off the Water
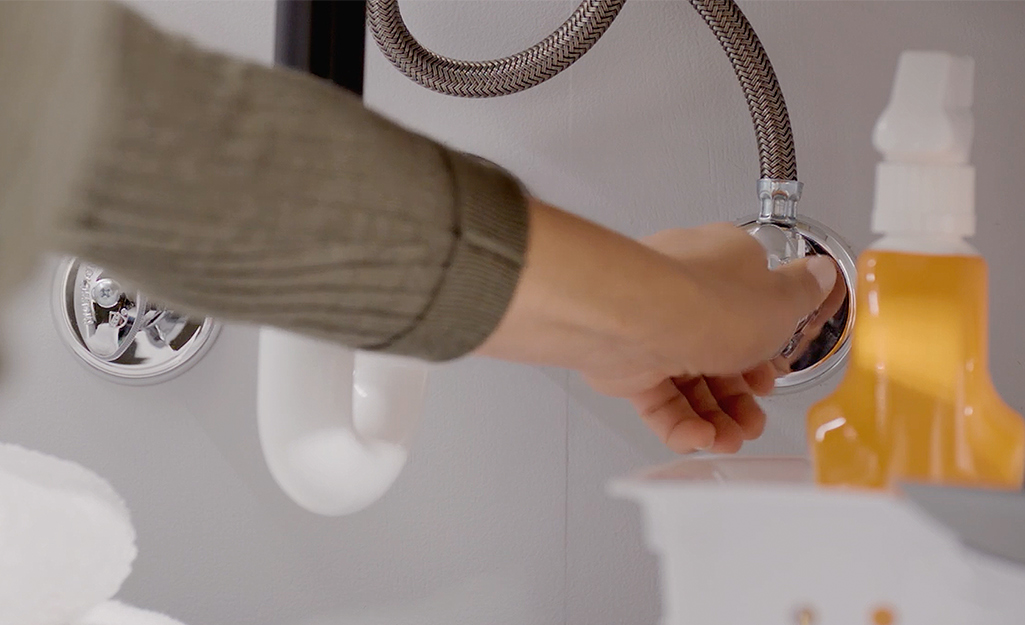
The kind of faucets located in your bathroom or your kitchen could be a double or single handle, a twisting ball faucet on your tub or shower, or a modern pull-down wand design. Before you start fixing a leaking faucet, as a first step, the water supply would have to be turned off.
- Turn the valve under your sink to shut off the water. If there are no separate shutoff valves underneath the sink, close the water for the place.
- Turn on the faucet and leave it open to let the remaining wetness in the pipe drain into the sink.
Lead: Insert a sink stopper or shield the sink opening with a towel to stop the tools from falling down into the drain.
Remove the Handle
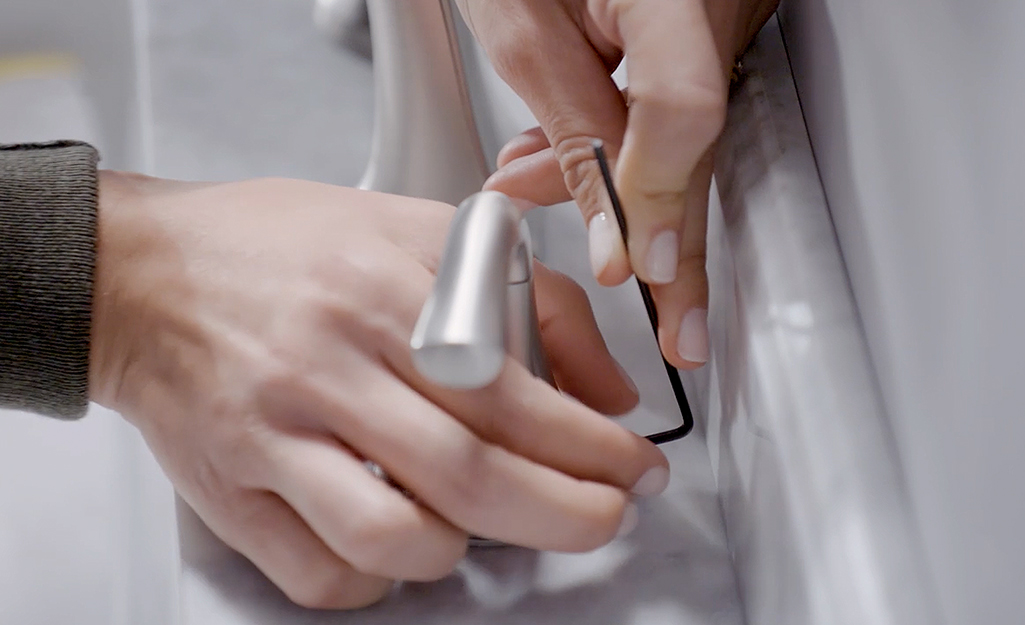
Removing the faucet handle depends on your faucet style.
- If there is a set screw located behind the handle, use a hex key or Allen wrench to twist the screw and take it off.
- If the handle has a removable screw cover, use a flat screwdriver to pry it off. After that, loosen the screw underneath the cover using a Phillips head screwdriver.
- Remove the handle.
Removing the handle of a leaking shower or bathtub faucet demands slightly more work.
- If the handle has a cover, take it off using a flathead screwdriver. Use a Phillips screwdriver to remove the handle.
- Pull off the faceplate located behind the handle. Unscrew the faceplate If it has threads.
- Pull the metal sleeve off or unscrew it.
- Pry off a locking clip with a screwdriver or a needle nose pliers, if the shower valve has one.
Remove the Cartridge or Stem
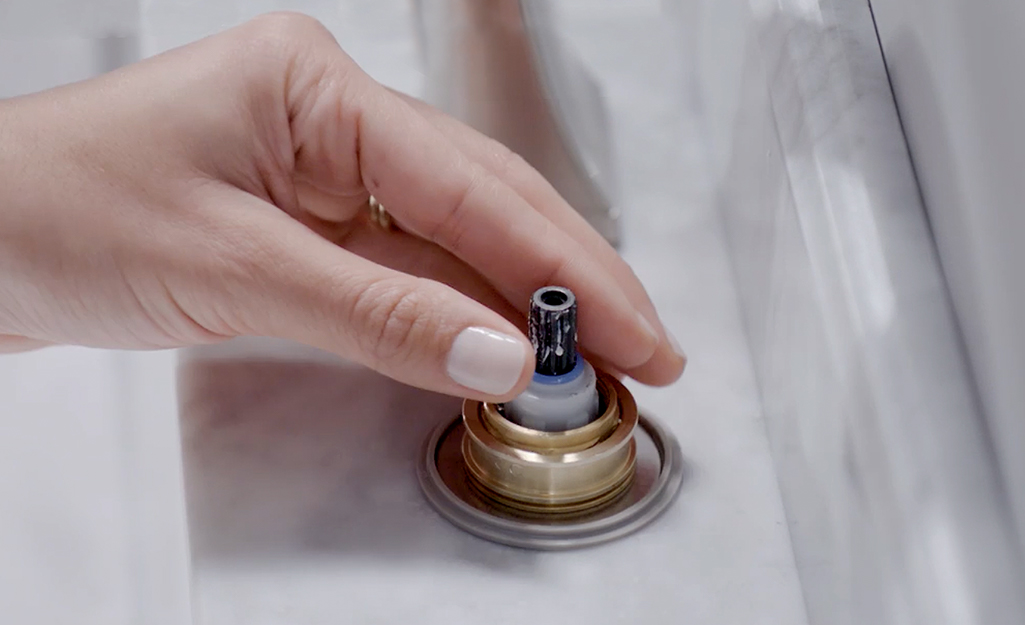
The faucet cartridge or stem is found in most two-handled kitchen and bathroom faucet styles. This is the part that controls the flow of cold and hot water.
- Using a wrench, loosen the packing nut in the handle assembly, then remove and set aside.
- Gently pull the part straight up and out of the body.
Install New Cartridge
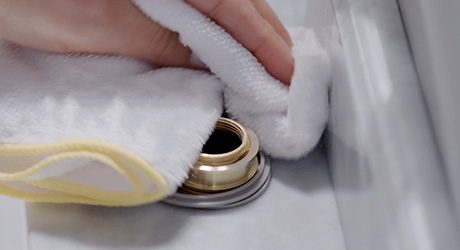
After the inspection of the cartridge and identifying the leak from the bathroom or kitchen faucets, to resolve the problem with the dripping faucet, you’ll have to replace it.
Stems and cartridges have a lot of different sizes and shapes, and the most manageable way to discover the correct replacement detail is to know the title of the factory and the faucet’s model number. If you need more convincing, take the old stem or cartridge you’re replacing to the supply so you can use a reference direction to correspond it to the identical cartridge you need.
- The neat and waterless area around the handle and all the parts with a cloth.
- Check the O-rings near the housing. Substitute any that look harmed or frayed.
- Please replace the new cartridge or stem, ensuring it is aligned correctly.
Reattach Faucet Handle
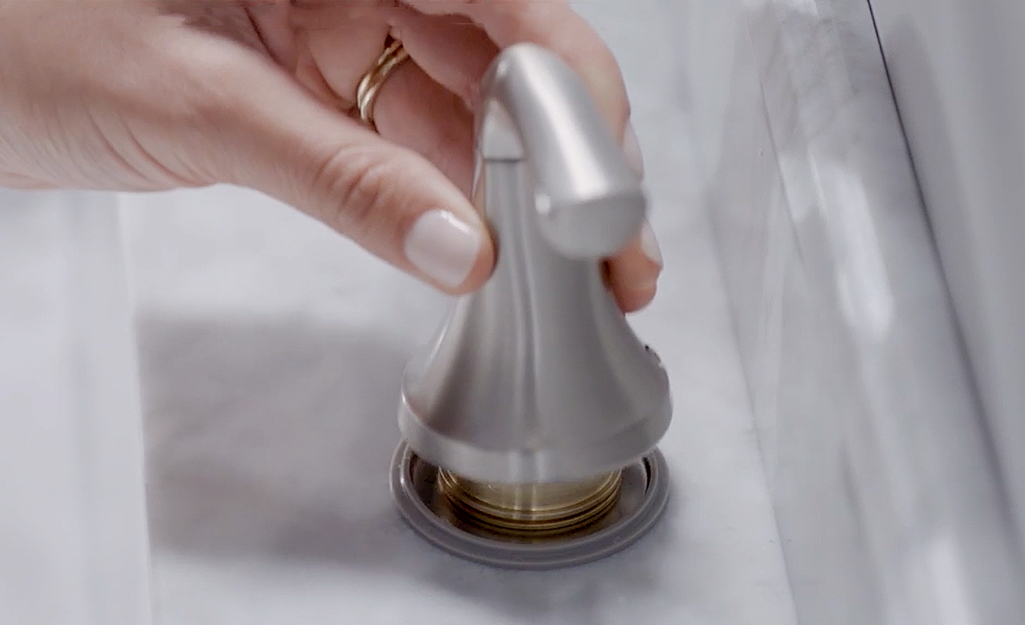
After installing the stem and new cartridge go back to the previous steps, reinstall the faucet handle and turn the water back on and clean the working area.
Run both cold and hot water via your faucet for a few minutes to confirm that your aerator is draining properly. The aerator is the part that tightens onto the end of the faucet spout. It can be effortlessly pulled and cleansed if the the buildup is hindering continuous water flow.


