Choose the Right Faucet

For a kitchen faucet to accommodate a side sprayer, it needs to have a water diverter and a properly sized sprayer mounting hole. A water diverter is a capped and threaded pipe that sits beneath the faucet assembly between the hot and cold water supply tubes. If your faucet doesn’t have these two features, you need to replace it with one that does. Choose a new faucet and side sprayer that matches in style and finish.
If you having a hard time finding the right faucet contact us for assistance
Drill a Mounting Hole into Your Sink
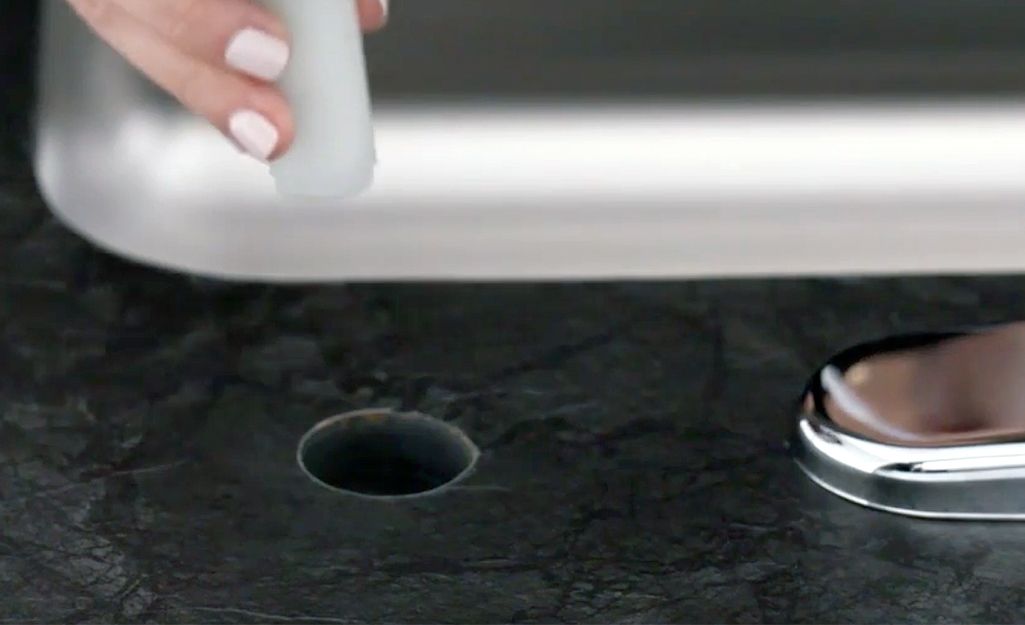
If your sink already has a mounting hole for a side sprayer, located beside the faucet or in the faucet plate, you can move on to the next step.
If there isn’t a mounting hole—or if the hole is too small for your side sprayer—use a hand drill to create one of the proper sizes.
Turn Off the Water
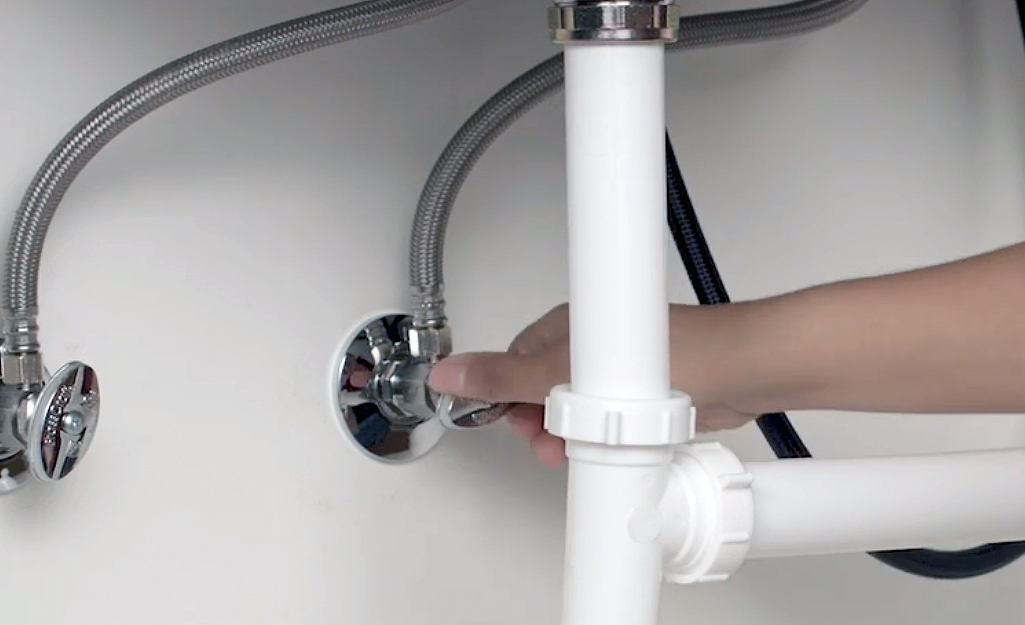
When you’re ready to install the supply lines, turn off the water supply to the sink first.
- Locate the shutoff valves for the hot and cold water under the sink.
- Turn them in a clockwise direction to stop the flow of water.
- Open your faucet to release any residual water from the system.
If the water does not shut off, let us help
Connect the Supply Lines to the Faucet
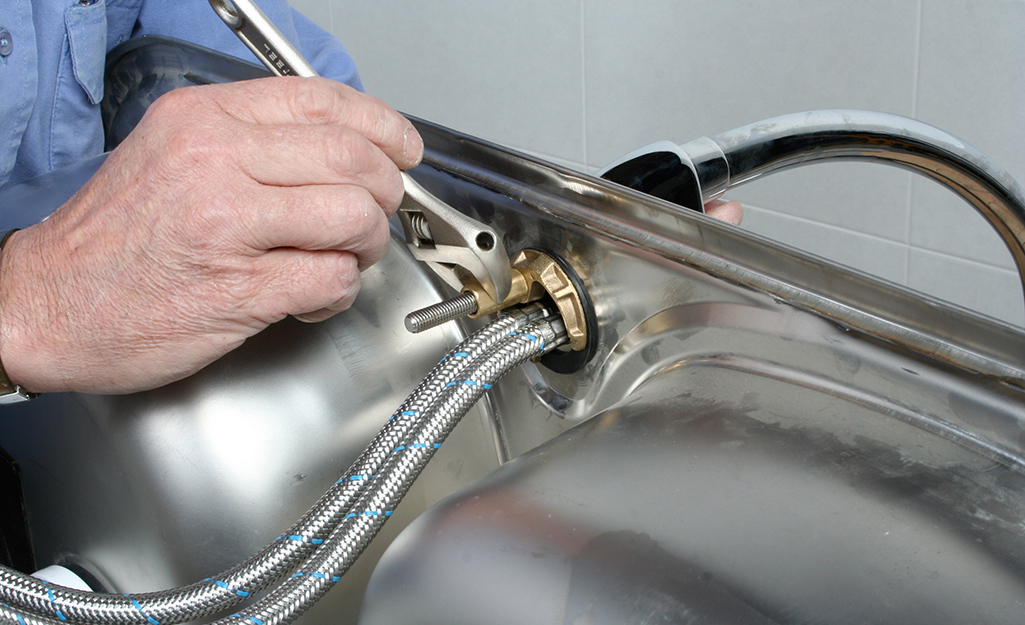
- Wrap the plumber’s tape around the tailpieces of the faucet to prevent leaks.
- Screw on the hot and cold supply lines, then tighten them by hand.
- Finish tightening the coupling nuts with a basin wrench or slip-joint pliers.
- Label the hot- and cold water lines with a marker or tape. Apply Sealant and Position the Faucet
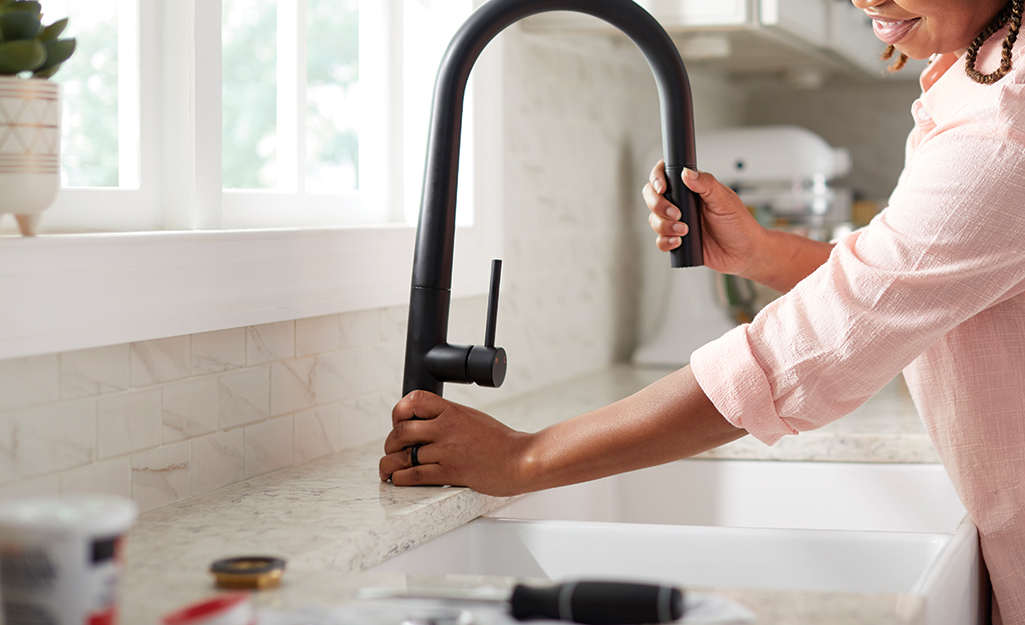
- Apply a quarter-inch bead of the plumber’s putty around the base of the faucet to seal out water and prevent corrosion after installation. For cultured marble sinks, use silicone caulk instead.
- Insert the supply lines and the faucet tailpieces through the holes in the sink or countertop.
- Position the faucet over the sink and press down to help it adhere.
- Wipe away any excess sealant around the base
Screw On the Faucet Mounting Nuts
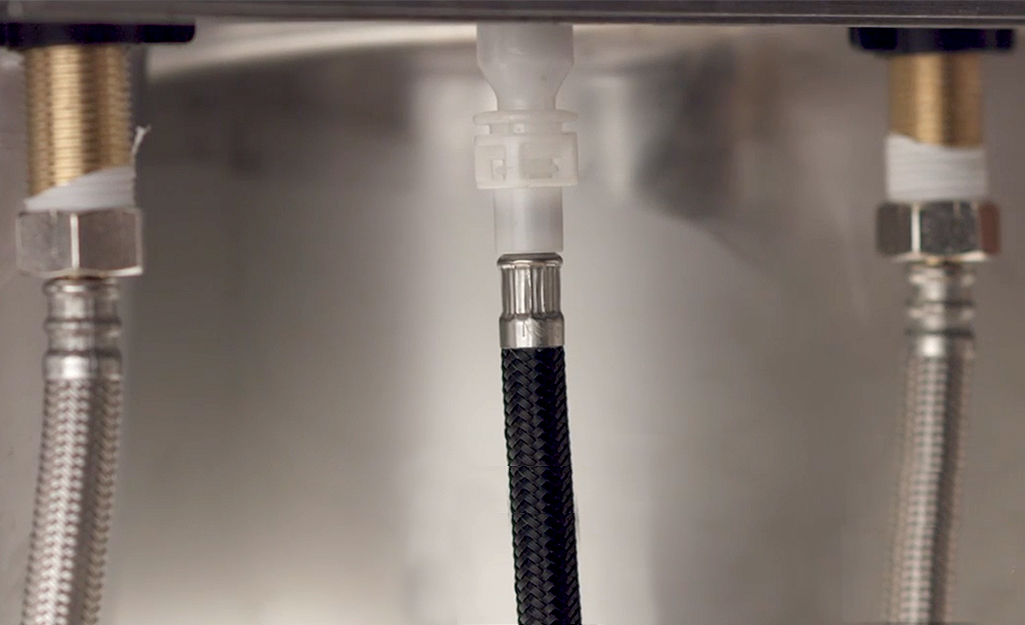
- From under the sink, screw on the faucet friction washers and mounting nuts.
- Tighten them initially with your fingers, then give them a final quarter-turn with a basin wrench or slip joint pliers.
- Be careful not to overtighten the nut, or it may cause damage to the countertop.
Connect the Supply Lines to the Shutoff Valves
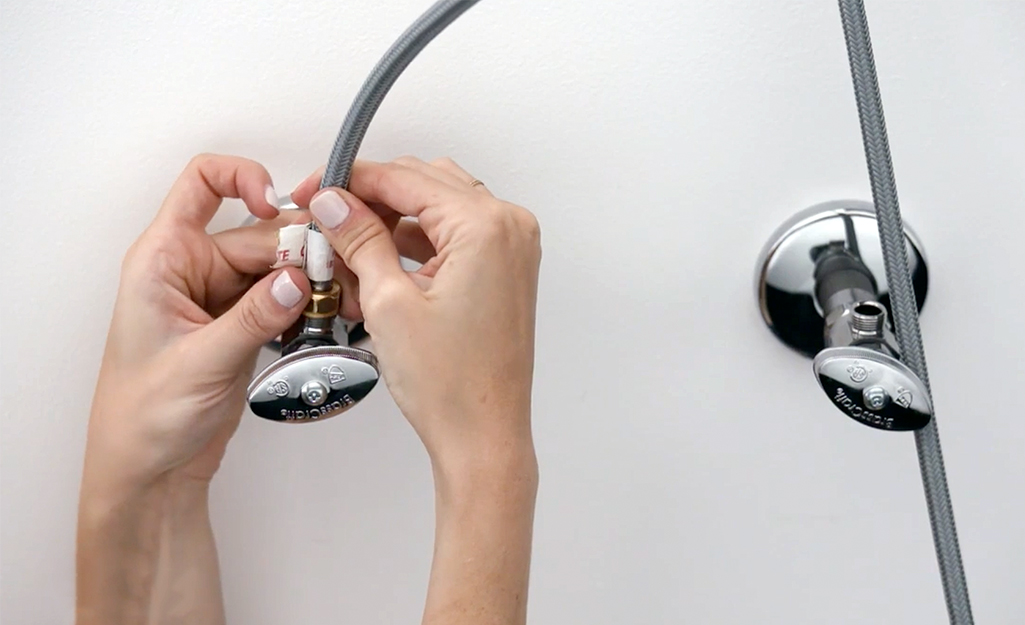
- Wrap the male ends of the supply lines in plumber’s tape for a leak-proof seal.
- Connect the hot and cold supply lines to the corresponding shutoff valves.
- Tighten them with your fingers, then give them a final quarter-turn with an adjustable wrench, while holding the corresponding valve with another adjustable wrench.
Apply Sealant to the Side Sprayer Base
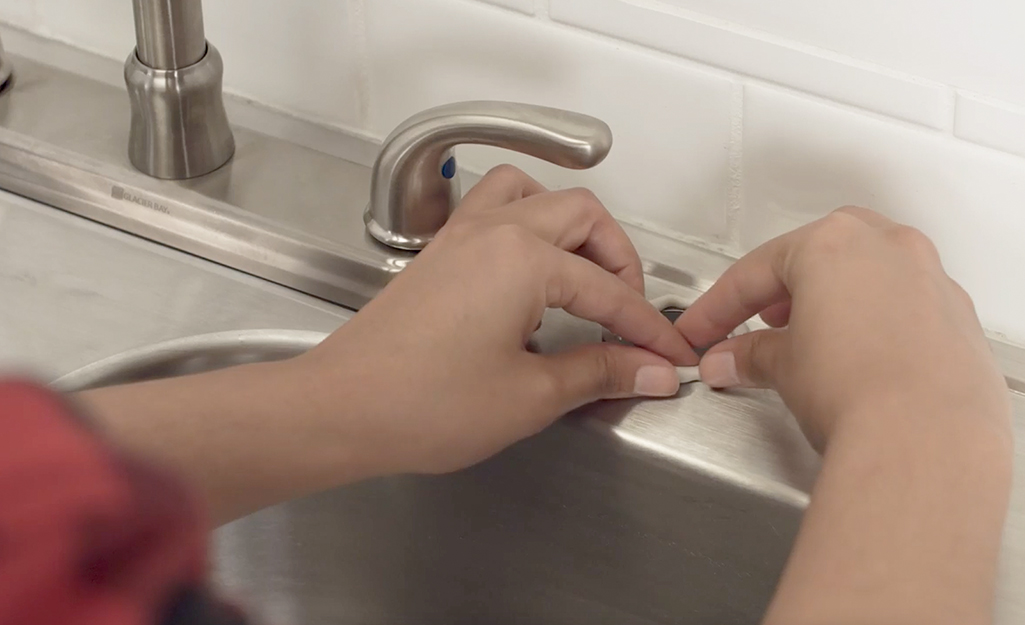
- Apply a bead of the plumber’s putty (or silicone caulk for cultured marble sinks) along the bottom edge of the sprayer base.
- Thread the sprayer tailpiece through the sink opening.
- Wipe away any excess sealant from around the base.
Screw In the Side Sprayer Mounting Nuts
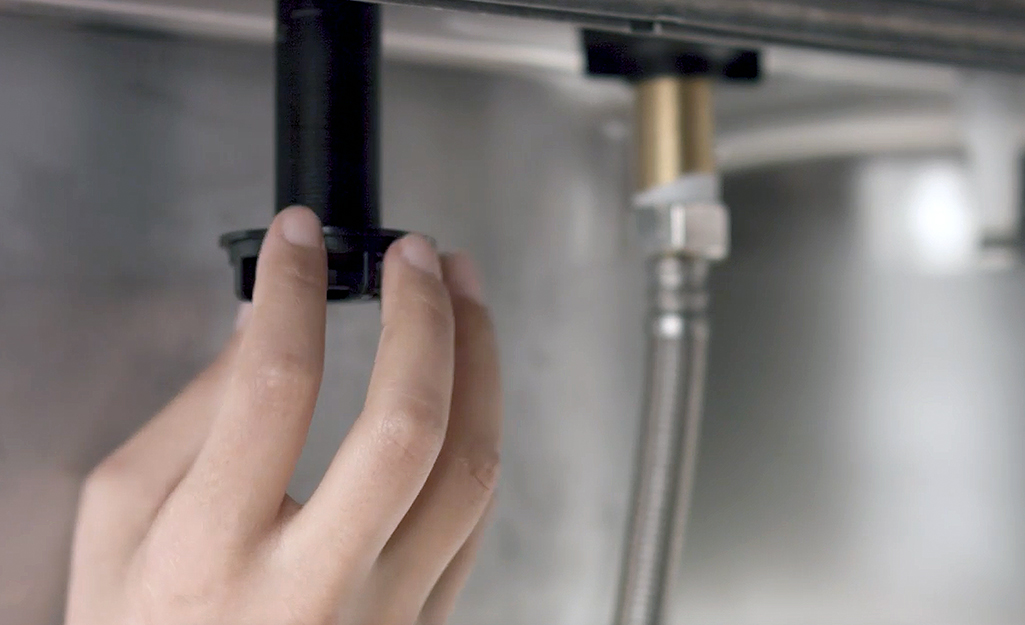
Place a friction washer over the tailpiece of the side sprayer and attach the hose if it’s not attached already. Screw the mounting nut onto the tailpiece with your hand, then finish tightening it with a basin wrench or slip-joint pliers.
Screw In the Sprayer Hose
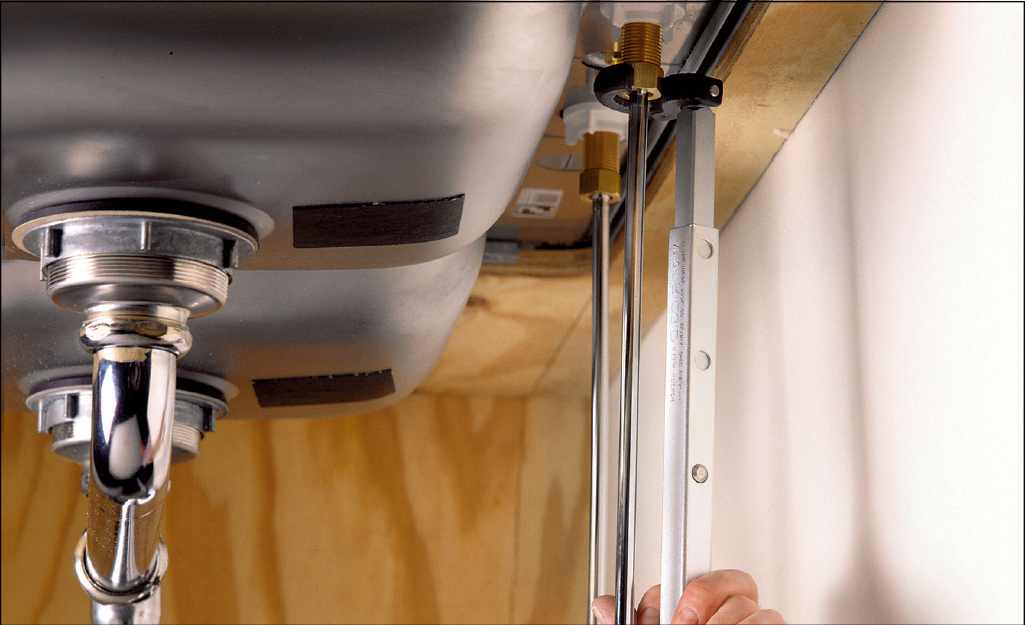
Screw the end of the sprayer hose onto the hose nipple at the bottom of the faucet. Hand-tighten the hose nut, then give it a final quarter-turn with a basin wrench or slip-joint pliers.
Connect the Spray Hose to the Water Diverter
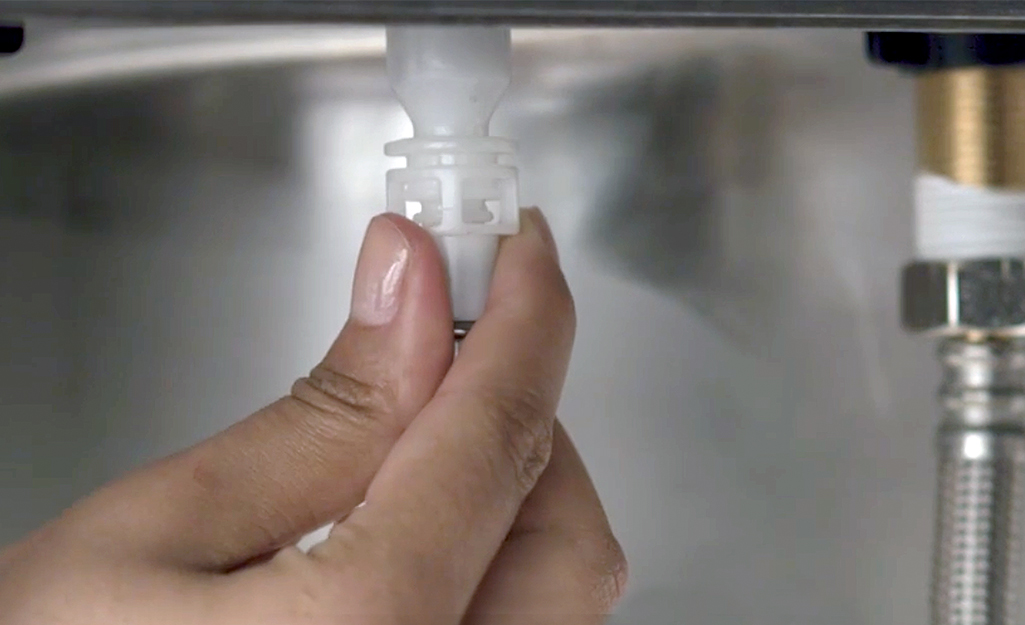
To connect the spray hose to the water diverter, remove the cap on the water diverter, if it has one. Store the cap in a safe place in case you ever need to put it back on. Screw the hex nut end of the hose into the diverter or press to connect it. Give the hose a gentle tug to make sure it is properly attached.
Turn On the Water and Check for Leaks
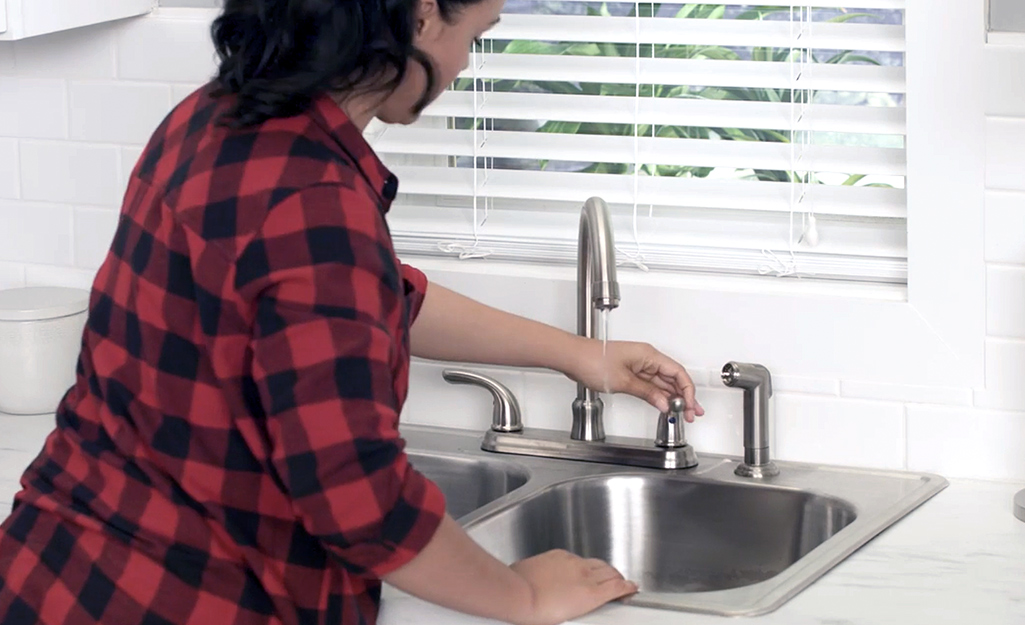
With the installation finished, open the water valves back up. Turn on the water, and let it run for a minute or two. Look carefully under the sink with a flashlight to identify any leaks. Press tissues lightly against the joints to see if any wet spots are visible. If you discover a leak, turn off the water and retighten the connections, then turn on the water again.
Test the Side Sprayer
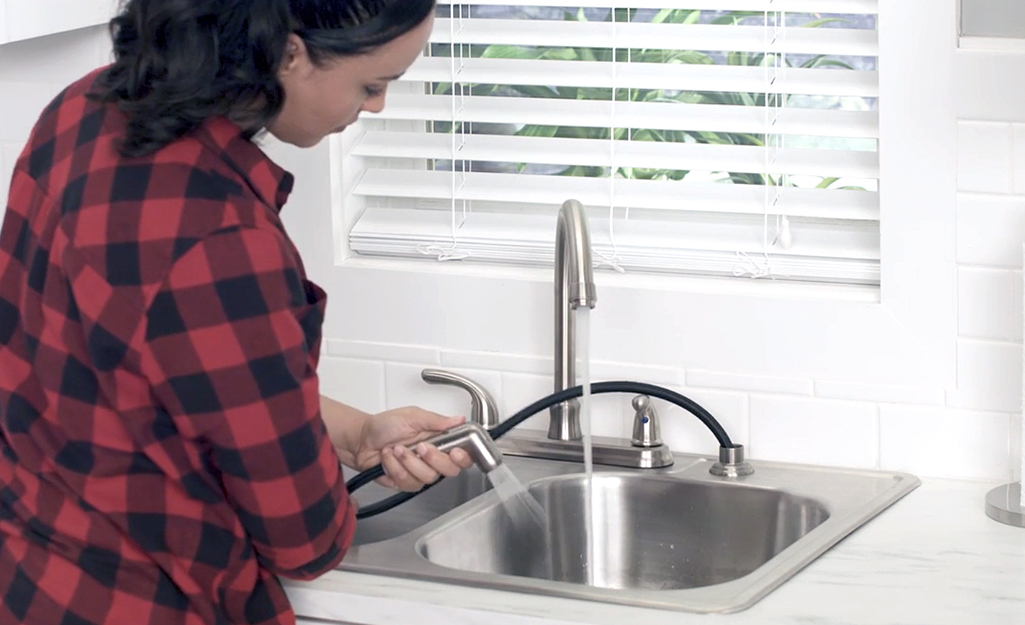
After you have confirmed a leak-free installation, run the water again. Remove the sink sprayer from its mount and push the handle to confirm that the water comes out and sprays at the proper pressure. Make sure the hose extends without difficulty for a full range of motion around your sink.
A kitchen faucet with a sink sprayer is a game changer in the kitchen. Easily rinse the sides of the sink, spray produce and aim the water where you need it. Installing a kitchen faucet and sink sprayer gives your kitchen a small but very helpful upgrade—and it’s a great skill to have on your DIY resume.


